
What Bathtub Faucet Do You Have?
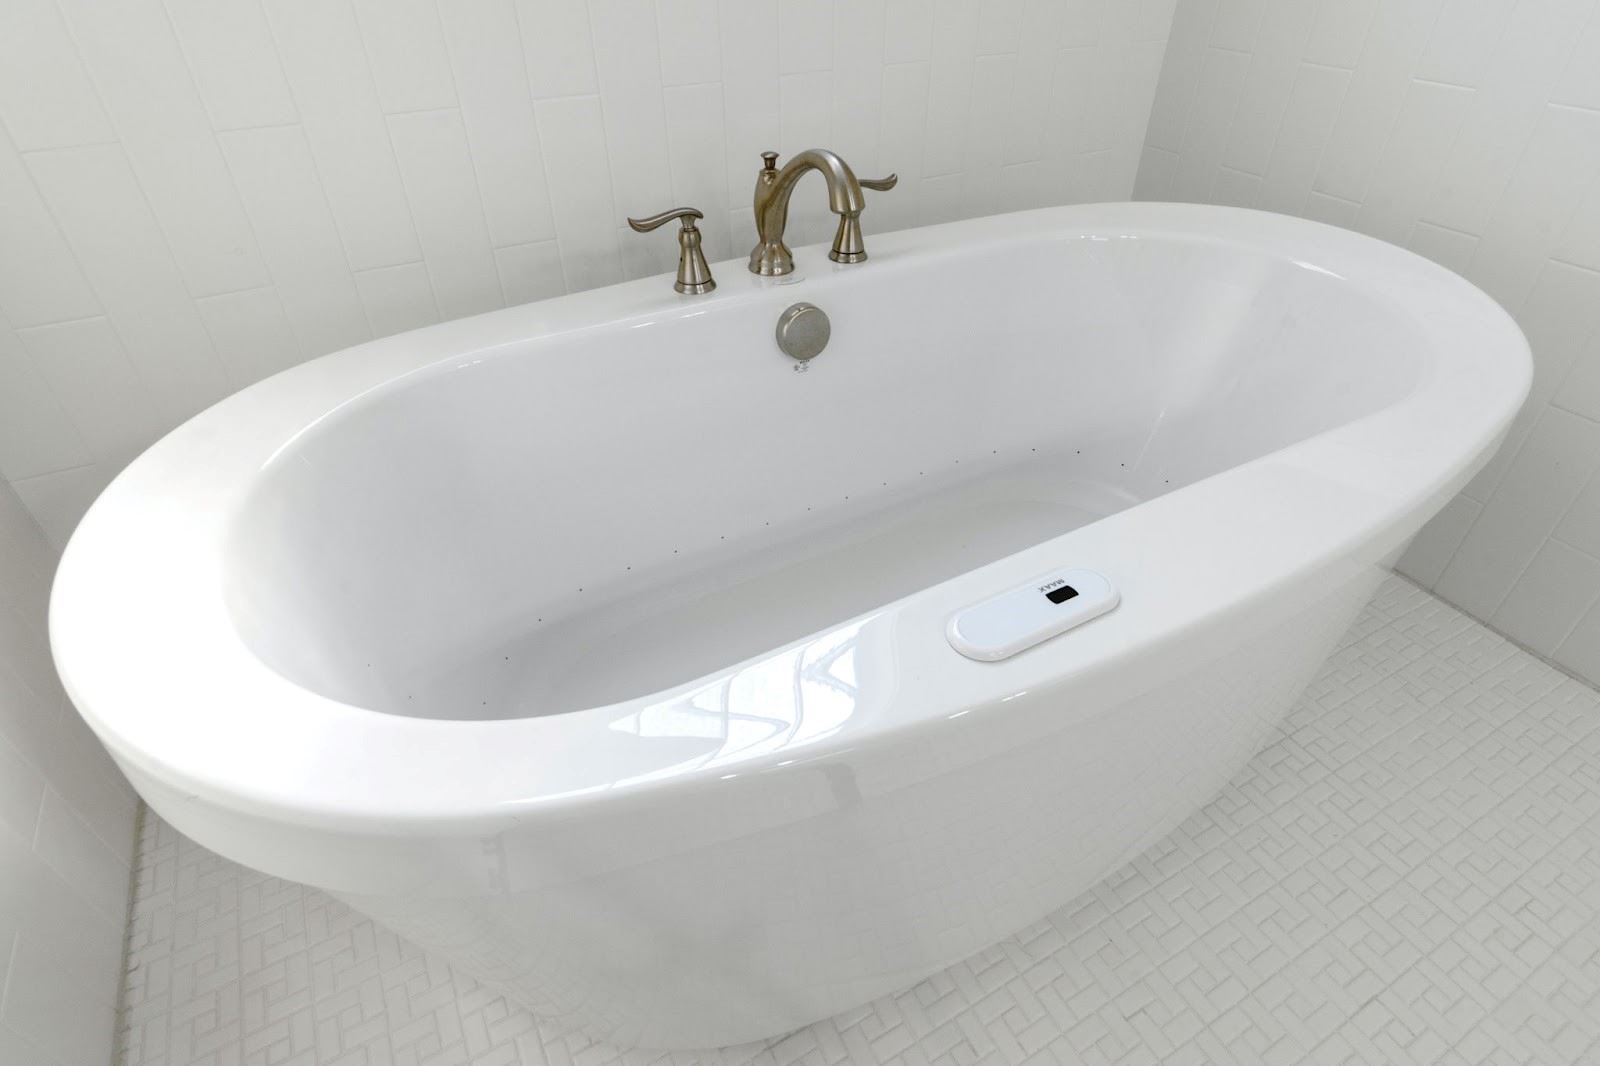
Deck-Mounted Faucet
These are good for tubs with limited spaces as the faucet will be placed onto the actual tub. It is also the most economical choice.
Floor-Mounted Faucet
This type of faucet will give off the look of exposed pipes. However, these do require more room around the bathtub
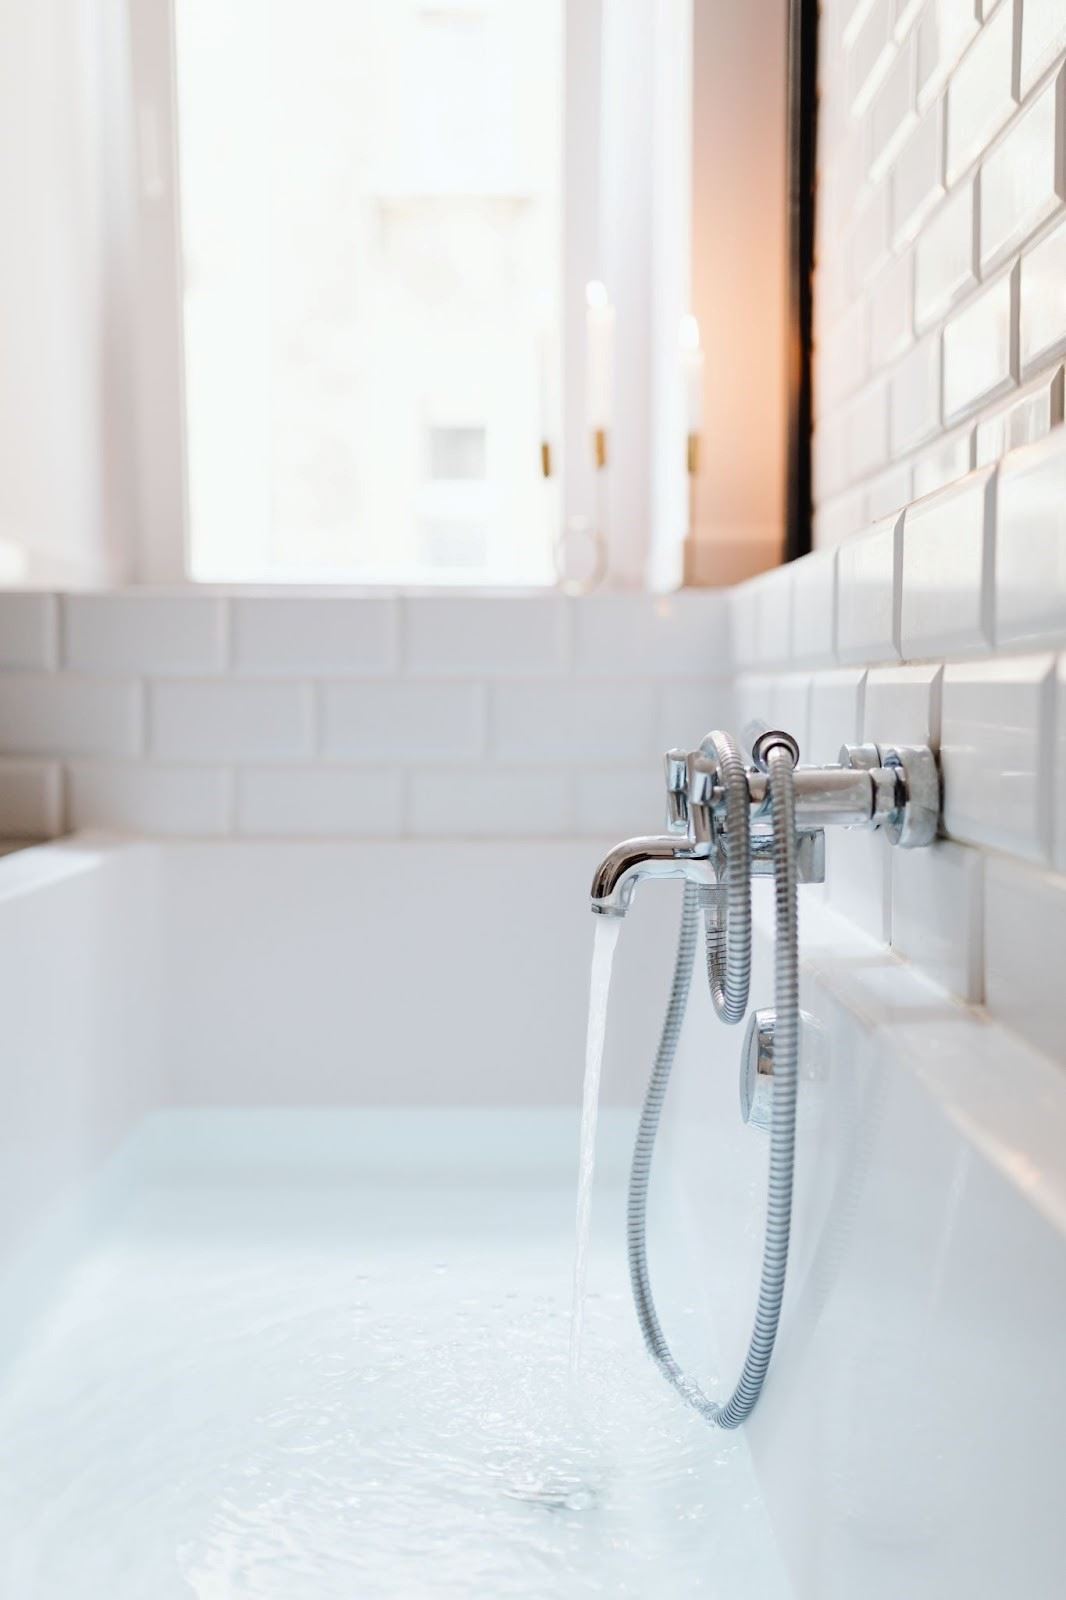
Wall-Mounted Faucet
This faucet will provide more surface space while producing a longer water arch. They are best used when a tub and shower are combined.
If you have the wrong configuration, you could always cover it up with a deck plate to avoid any unwanted holes.
How to fix a leaky bathtub faucet
Tools and Materials Needed
- Towel.
- Box Cutter.
- Sand Cloth.
- Teflon Tape.
- Caulk or Sealant.
- Petroleum Jelly.
- Adjustable Pliers.
- Soft Cloth with Rubbing Alcohol.
- New Faucet.
Steps:
- Determine the faucet type.
- Use a Towel.
- Remove old faucet.
- Add Teflon Tape and Install New Pipe Nipple.
- Install new bathtub faucet.
- Test.
- Seal.
Step #1. Determine the Type of Faucet You Have.
Firstly, you will need to find out what kind of spout was previously installed in your bathroom. This will either be a thread on or set screw style.
This can be determined by looking at the underneath side of the faucet and seeing if there is a hole or opening. This will indicate a set screw model, whereas if you do not see these things, it is a thread on.
Step #2. Lay a Towel in the Bathtub
By doing this, it will protect your bathtub from any damage from removing the old faucet
Step #3. Remove Old Faucet
Taking the box cutter, cut around the old faucet where the sealant was used to hold the faucet. Then turn the faucet counter-clockwise using a wrench and your hands.
If needed pliers can also be used in this step.
Then remove any excess residue on the walls, and if the new faucet needs a longer pipe nibble, replace the old one.
Step #4. Add the Teflon Tape and Install New Pipe Nipple
In a clockwise manner, wrap Teflon tape on both ends of the new pipe nibble three times. Then place this nipple in the hole where the faucet was and turn it in a clockwise direction until tight.
Step #5. Install New Bathtub Faucet
Next, take the new faucet to thread it onto the pipe nipple. Then turn it clockwise until it is tight against the wall.
Step #6. Test
Test the new faucet by opening the water, this will also flush out any debris.
Step #7. Seal
Finally, using a small amount of caulk around the faucet, seal the faucet. Any excess caulk can be cleaned with water and a rag.
The previous instructions refer to a single wall-mounted faucet that would be easier to fix by yourself. However, there are other types of faucets, as mentioned above, which would be more difficult and require much more patience to fix.
If you have a double wall-mounted faucet, there are a few more steps needed.
Tools Needed
- Flat Head Screwdriver.
- Phillips Head Screwdriver.
- Wrench.
- Seat Removal Tool.
Steps:
- Determine the Source of the Leak.
- Remove Index Cap and Handle.
- Remove Stem.
- Replace Faucet Seat.
- Replace Stem.
- Return Handle.
- Turn on Water Supply.
Step #1. Determine Which Side is Leaking.
If water is leaking from underneath the handle onto the wall, then the stem of whichever handle is leaking needs to be replaced. However, if water is leaking from the tub spout or showerhead, then you need to determine if it is from the cold or hot side.
Then turn off the water supply
Step #2. Remove Index Cap and Handle
Remove the Index Cap off the handle to reveal the handle screw. You can use a flathead screwdriver to loosen the head.
Loosen the handle screw and the handle. Keep these items to reinstall them at the end of the project.
Step #3. Remove Stem
If you have a plastic stem, loosen the retainer nut and pull out the stem. If it is a brass stem, use a wrench and unscrew it counterclockwise until it threads out entirely.
If it is a brass stem, there will be a washer at the end of the stem. If the washer is disfigured, it will need to be replaced, and this may be the cause of the leak.
Step #4. Replace Faucet Seat (If Using Brass Stem)
You may also need to replace the faucet seat to ensure a tight seal between the stem, faucet seat and washer.
This can be done with an Allen wrench or seat removal tool. Turn the seat counterclockwise to loosen and clockwise to tighten
If you are unable to remove the faucet seat, you can use a reseating tool to even out and smooth the faucet seat to a flat surface to ensure a tight seal.
Step #5. Replace Stem
With a plastic stem, place it into the faucet body next to screw into the retainer nut. There may be a spring and a rubber seat.
If so, the spring will go into the faucet body with the wide end first followed by the rubber seat.
If installing a brass stem, turn the stem completely to the open position then turn the body of the stem clockwise into the faucet until it threads in entirely and tighten it with a wrench.
Step #6. Return Handle
Next, you can return the handle onto the stem and secure it with a handle screw. You can also return the cap back to the handle.
Step #7. Turn on Water Supply
Finally, you can then turn on the water supply.
Professional Help
While there are some ways to fix a faucet, it is always better to consult a professional to avoid any further destruction to your property. There are several plumbing companies, for instance, in the North Las Vegas area, Dignity Plumbing will provide you with reliable plumbing services.
You can contact them via the link above or by calling their number (702) 872-3927