Electric water heater installation isn't as tough as you might imagine, especially if you like going DIY in your home.
But, before you begin, keep in mind that you will need to perform some basic plumbing and electrical work.
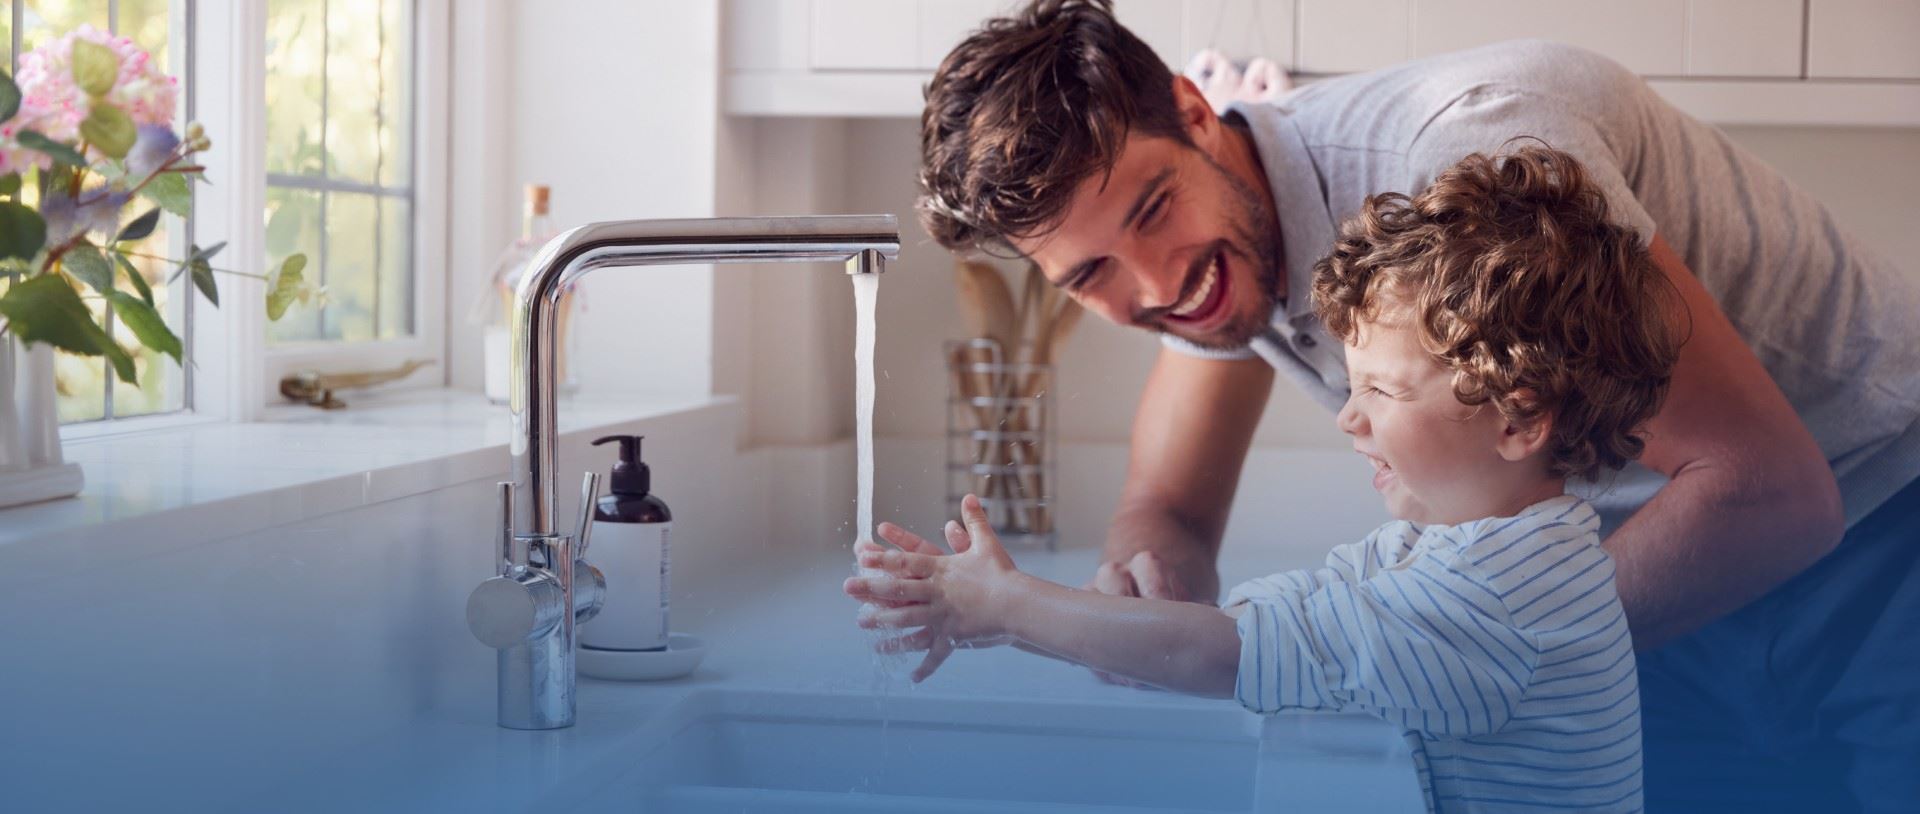
So if you’re not confident about doing these tasks yourself, it would be best to find a plumbing service that will do the job for you safely, quickly and effectively.
If you do things yourself without the proper knowledge and tools, you might make mistakes that can cause a simple problem to worsen. So you may think you’re saving money, but when you do something wrong, it might cost you more.
But if you're up for the challenge, you can do the work yourself and save a couple of bucks.
So whether you are installing one in a new property or replacing an old one, this article is for you.
But before starting anything, remember that replacement is not always the answer.
Commonly, electric water heaters last only 8-10 years before you have to replace them. So if your water heater is leaking, it doesn't automatically imply that it's over its expiry.
And leaks are often quickly repairable. So you should try to fix the leak before deciding on purchasing a new water heater.
But if you discover that the leak is coming from the tank, your only choice is to replace the water heater.
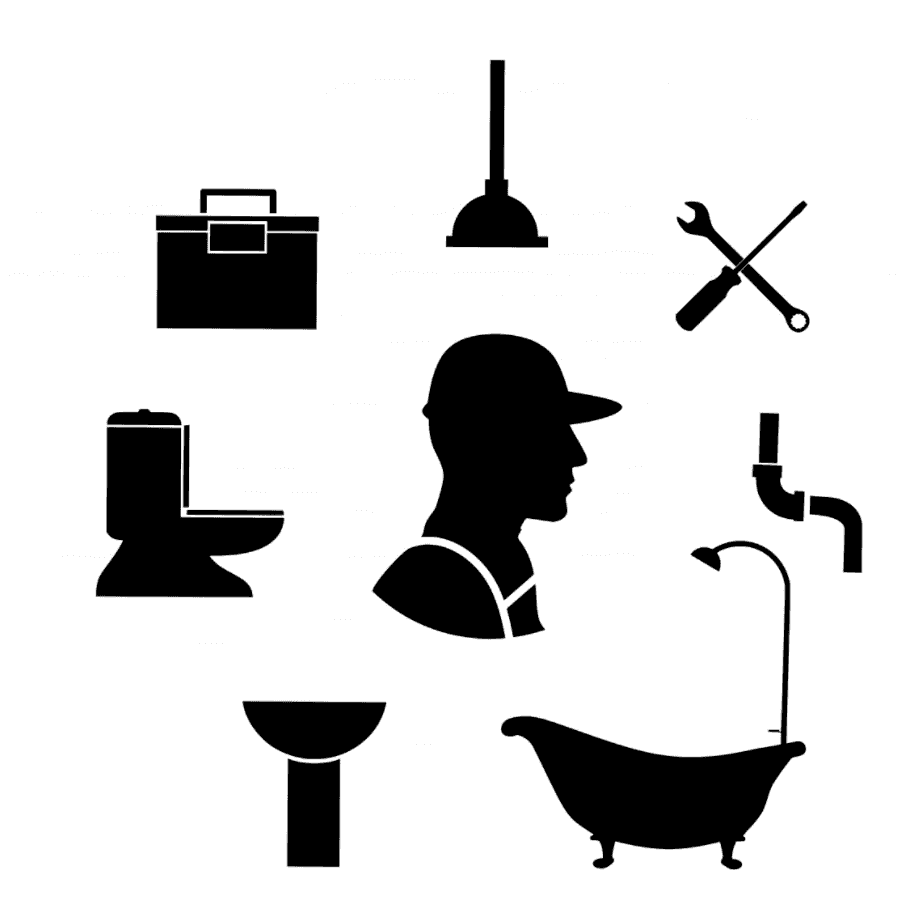
Here are the steps to installing a water heater.
- Prepare your tools.
- Turn off the power source.
- Drain the water tank.
- Disconnect the heater's wiring.
- Disconnect the plumbing.
- Remove the old heater.
- Get the plumbing lines prepared.
- Attach the electrical wires.
- Connect the water supply lines.
- Install the T&P discharge pipe.
- Activate the power.
- Bleed or flush the hot water lines.
Step No. 1: Prepare your tools.
You will need the following tools prepared before you start installing your water heater.
- Tubing or Pipe Cutter
- Soldering Flux with torch & solder wire
- Dielectric Connectors
- Voltage Tester
- Plumbers Tape or Pipe Dope
- Flexible Hoses
- Wrench
- Screwdriver
- Sandpaper Cloth
Also, ensure that you wear protective gear like safety glasses and non-slip gloves.
Step No. 2: Turn off the power source.
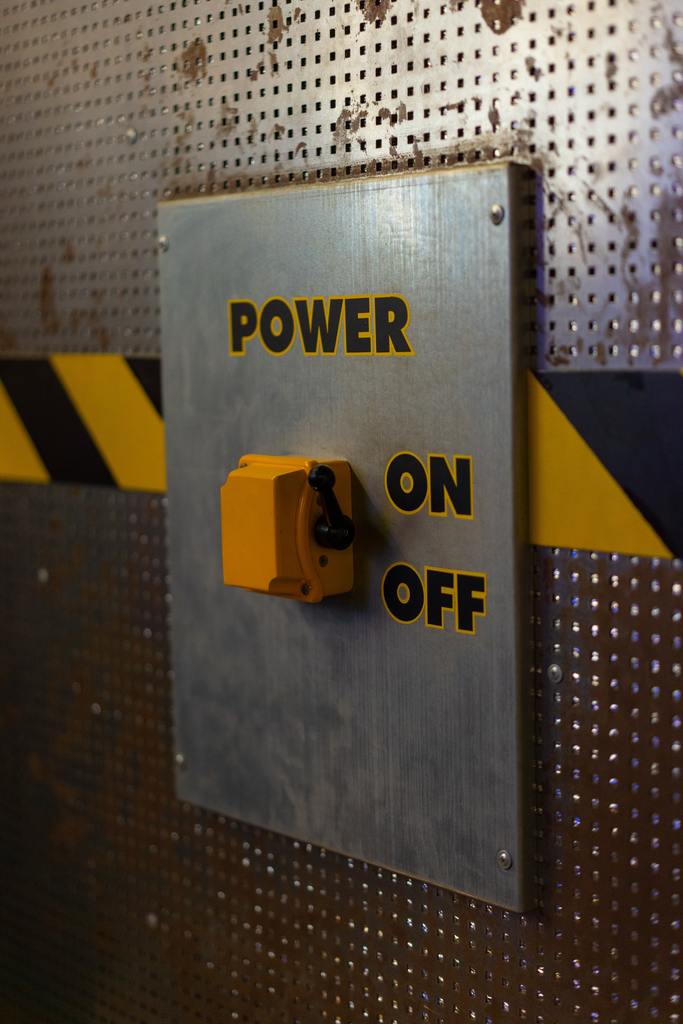
Ensure that you turn off the power to your water heater before doing anything. You don’t want to electrocute anyone, so turn the power off at the circuit breaker panel.
To really ensure that the water heater is turned off, you can use a voltage tester to check the wiring. It is vital that before you do any work on the water heater, you have ensured that it is not receiving any electricity.
Step No. 3: Drain the water tank.
Open a hot water faucet and run it until the water’s temperature is low or cold. This step ensures that you can drain the tank safely without becoming scalded with hot water.
Turn off the water heater's cold water supply. You can find this at the top of the water heater unit.
Then, connect a hose to the drain valve on the water heater. And drain the tank by opening the valve and letting the water flow outdoors to a floor drain or buckets.
The T&P valve can also be opened so that air is allowed into the tank. This way, the water will drain faster.
Step No. 4: Disconnect the heater’s wiring.
Disconnect the water heater's electrical cables at the top. And make sure the circuit breaker is turned off first.
Then, before you begin, use a voltage tester to examine the wires for extra safety. And put a cap on the wires.
And to avoid any future confusion while connecting your new water heater, make identifications or photograph them.
Step No. 5: Disconnect the plumbing.
Disconnect the water supply lines for both hot and cold water.
If your water heater is plumbed with copper piping, you might need to do some cutting. So use tubing or pipe cutter to cut the pipes, leaving as much of it as possible.
Then you can remove the T&P discharge pipe from the T&P valve. You can reuse it on your new water heater if it is still in excellent condition.
Step No. 6: Remove the old heater.
Remove the old water heater with a dolly once the water tank is empty.
Then, place the new tank in its proper location.
One good practice is to set the replacement tank into a drain pan. Doing this can help prevent leaks.
Afterwards, check to see and ensure that your electrical supply can reach the tank. And make sure to double-check that you can adequately access the panels and the drain valve for maintenance.
Step No. 7: Get the plumbing lines prepared.
If your old water heater uses copper piping and you have had to cut it, you'll need to use a sandpaper cloth to prepare the pipes. So rub the ends of the pipes using the sandpaper cloth until they smoothen and shine.
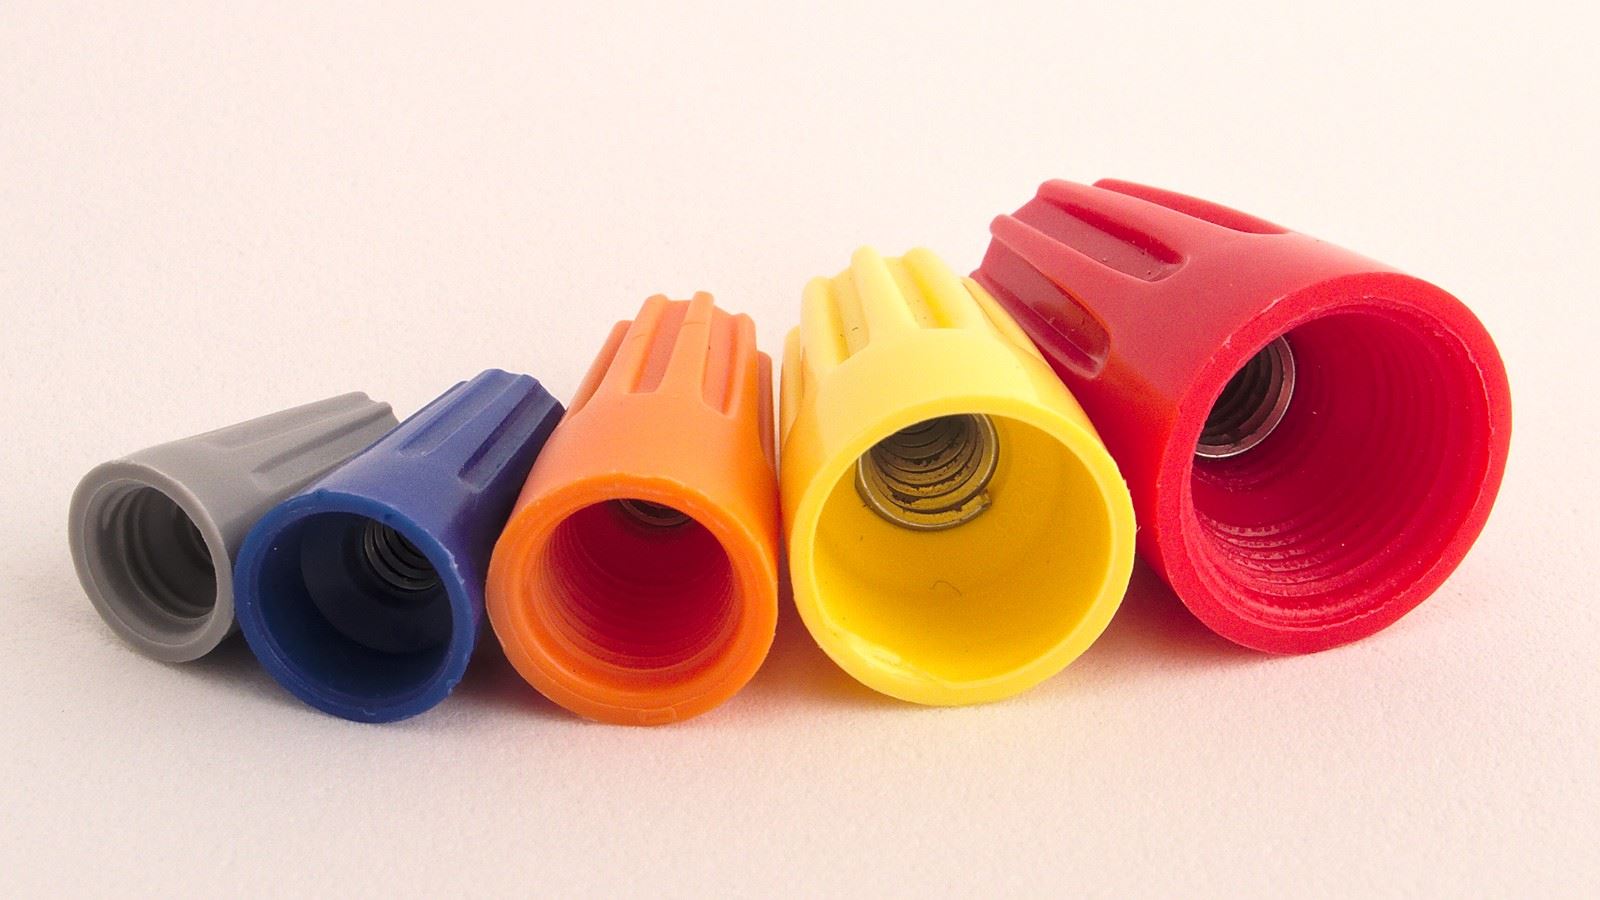
Step No. 8: Attach the electrical wires.
So that you can gain access to the electrical cables, remove the junction box cover.
Then, connect the green ground screw and the ground wire. Wire connectors are used to join the other wires together.
Use the previous wire connections as a guide to connecting the wires in the same manner as you removed them. Use your label tags or the photo you took as a guide.
You should then replace the junction box cover.
Step No. 9: Connect the water supply lines.
Connect the water supply lines for both hot and cold water.
You have to make sure the cold water pipe is connected to the cold water input on the water heater. Many people make the mistake of connecting cold to hot.
If your former water heater was plumbed with copper plumbing, you might want to do so again.
Flexible hoses, on the other hand, are highly recommended. Flexible hoses are not only more straightforward but are also suitable for earthquake safety.
Depending on your original configuration and personal preference, your plumbing will differ.
Connect the flexible hoses to the water heater's nipples. In most circumstances, the job will require plumbers tape to line the threads.
To connect the flexible hoses to the hot and cold water pipes, experts recommend utilizing dielectric connections. These fittings will aid in the reduction of corrosion between the two metals.
Step No. 10: Install the T&P discharge pipe.
The next step is to connect the T&P valve to the discharge pipe. Remember that the pipe's end must be within 6 inches of the floor.
Use a 3/4" male copper fitting. Then on the outside of the fitting and the inside of the valve fitting, apply pipe dope.
Afterwards, connect the fitting and the T&P valve fitting, ensuring that it’s tight. And clean the fitting at the pipe's end.
Then, on the interior of the male fitting and the outside of the pipe, apply soldering flux. And connect the pipe to the fitting.
Finally, to join the pipes, use a solder and a torch.
Step No. 11: Activate the power.
Turn on the circuit breaker at the main power box when your water heater tank has filled with water.
Be careful because If the tank is not entirely filled before turning on the electricity, the electric elements might dry up and catch fire. And your electric heating elements may be ruined as a result.
If your water heater isn't getting power, see to it that the circuit breaker is turned off before inspecting the water heater’s electrical connections.
Step No. 12: Bleed or flush the hot water lines.
Allow the hot water tap to run for a few minutes until it stops "sputtering". This is done to remove the air from the tank and piping.
Keep in mind that It may take many hours for the water in the tank to reach its full temperature. So be patient.
We recommend that you set the temperature at 120 degrees Fahrenheit.
Now you can install your new water heater.
With these steps and the right tools in your hands, you can install your new water heater, hopefully seamlessly.
But as you can see, there’s plenty of crucial things that you might have to watch out for when going DIY on a plumbing job like this.
So if you want to guarantee a quality job without the hassle, it would be best for you to outsource professional services.
Dignity plumbing offers water installation services that will make things quick and convenient for you.