
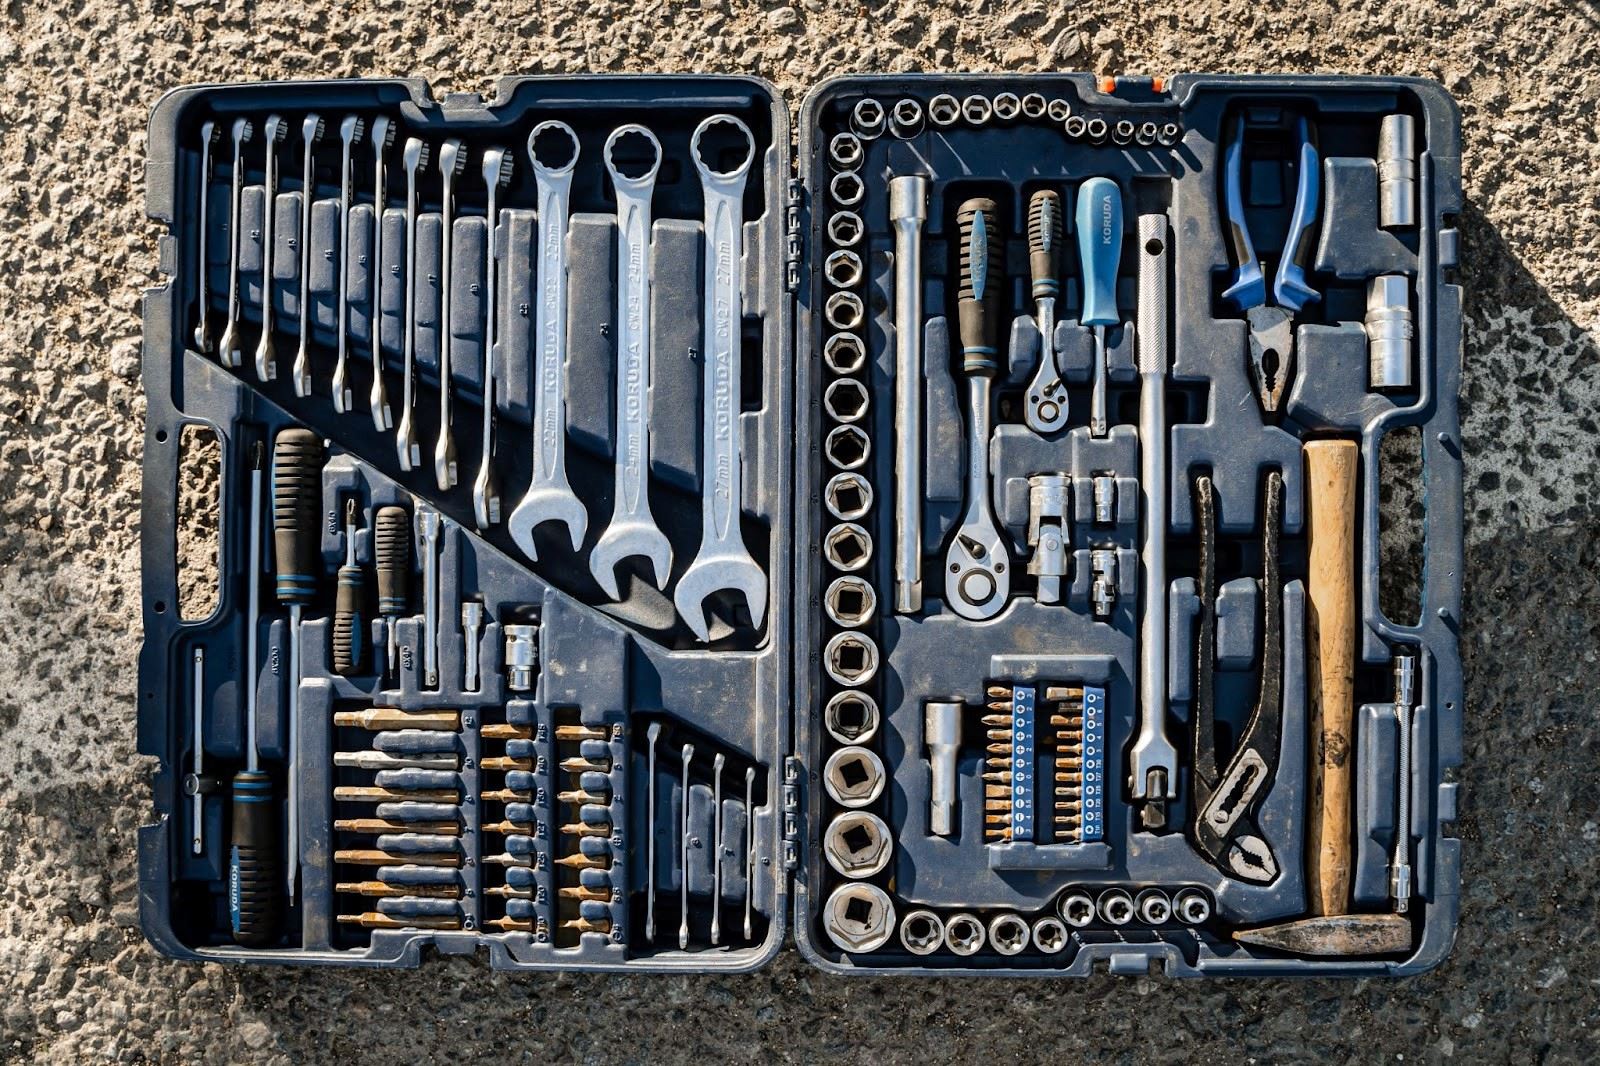
If you are in need of a new toilet in your home, chances are you might have the necessary tools needed to install a toilet all by yourself. Here are the tools and other items needed to install a toilet.
- A New Wax Ring
- Nuts
- Washers
- Flange Bolts
- Measuring Tape
- Paper Towel
- A tube of Caulk
- Wrenches
- Hacksaw
- Pliers
- Screwdriver
- New Braided Supply Line
Taking on a toilet installation project can allow you to avoid large charges when hiring a plumber. If done correctly the installation can take less than 2 hours.
Installing the Toilet
Here are the steps needed to install a toilet.
- Assemble the Toilet
- Set up the Closet Flange
- Place the Wax Ring
- Set the Toilet Down
- Connect the Water Supply
Before beginning, make sure your water is closed off.
#1. Assemble the Toilet
Your toilet is most likely going to come in unassembled, so your first task is to assemble the toilet pieces.
First, attach the tank to the bowl. Ensure that your holes are lined up and your gasket stays in place.
Then take your screwdriver and place it in the slot of the screw followed by your washer and nut. Once all are in place, take a crescent wrench and begin to tighten these parts to ensure that the tank pulls down easily.
Do this for the other side of the connecting part of the toilet.
#2. Set up the Closet Flange
Take the measuring tape and measure from the back of the wall to the flange to ensure that the bolts are even. Then place the flange bolts into the flange.
It is better to have extra washers and nuts to lock the bolts securely into place. Then tighten the bolts using your wrench
#3. Place the Wax Ring
Take a paper towel and clean the flange of any excess dirt before placing the wax ring. Then place the wax ring on the flange.
#4. Setting the toilet down
Take your securely assembled toilet and place it directly in line with the bolts of the flange and the holes in the toilet. When placing the toilet down, put your weight down on it to flatten the wax ring until the base of the toilet is sitting on the floor.
Tighten the nuts, however, be cautious to not tighten it too much that the porcelain or flange cracks, but tighten the nuts securely to ensure that the toilet does not wobble.
Using a hacksaw, cut off the bolt just above the nut. Then place the plastic cap on top of the bolt.
This plastic cap should be included in your toilet package upon purchase.
#5. Connecting the Supply Line
Next, you will need to connect the supply line to the toilet and this can be done by finger tightening. To ensure security, you can tighten this connection with pliers, however, do not overdo it.
Then open the water and check to see if there are any drips. Once, the tank is full, flush the toilet to check for any leakages.
To finalize the install, take some caulk and place it around the bottom of the toilet, Doing this will prevent any water from seeping underneath the toilet and rotting the floor.

If you are replacing an old toilet, here are some steps to follow before proceeding with the installation of the new toilet.
Here are the steps needed to remove an old toilet:
- Measure the Old Toilet
- Remove the Old Toilet
- Remove the Old Wax Ring
#1. Measure the old Toilet.
Take measurements from the back wall to the bolts, then from the sidewall to the side of the bolt. This will ensure that you are purchasing the correct toilet for your space.
If you have a smaller space, try going for a rounder ball than an elongated one.
#2. Removing the old Toilet.
Begin with closing the water and flushing the water from the tank, this will prevent any unnecessary leakages of water. If there is any water remaining, use a sponge to take it out.
Then you will need to disconnect the water from the supply tank, followed by unscrewing the nuts on the tank and removing the top half of the toilet.
You may need assistance removing the tank.
Then you must remove the water from the toilet bowl. This can be done using a water solidifier or with a sponge.
Next, loosen the reams of the bolts holding the toilet bowl down and then the lower half of the toilet can be lifted from the ground and placed to the side in a garbage bag.
#3. Remove the Wax Ring.
You will then need to remove the wax ring. There will most likely be excess stuck in the flange, so place a rag into the hole and use a knife to take out the excess wax.
The rag will prevent any spillages into the hole as well as any sewage spewing out from it.
Then remove the old flange bolts from the flange.
From then on the new toilet will be ready to install. If the flange is damaged, you can pick up a repair kit from a store to fix this problem.
In addition, the flange should ideally be above the floor for better installation. However, if the flange is below the floor for whatever reason, there are numerous products found in stores that will bring the flange to the correct height.
Professional Plumbers
Should the DIY process of fixing a toilet overwhelm you, some plumbers will do everything for you and will bring all the necessary tools. In North Las Vegas and surrounding areas, there is the trusty Dignity Plumbing company to assist you with all your needs.
They can provide you with versatile toilet replacement services such as toilet repairs as well as toilet installation. You can reach them quickly via their website or call them on (702) 872-3927